To take control of your photography, you need to understand what light is and how it works. Capturing lighting is a little more complex than just learning to control the camera, as it bounces on objects that merge into each other, creating large and small shadows that affect the color of the image.
The understanding of light in photography depends on how the photographer places the light source, whether it is natural or artificial. This influences the final picture more than anything else.
Angle of Lighting
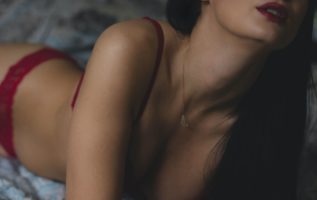
Stroboscopic light photography is the best illumination for photographs with two light sources on either side of the camera (45 degrees). When the two lights are balanced against each other, the light sources appear diffuse and soft on the subject. We’ve previously discussed how important this is in our nude photography tips.
This can help you give your photographs a more three-dimensional look by projecting your subject into the room and not just onto a flat surface. The shadows that make your images appear more real.
An assistant can be held in the position of the reflector, which is useful as it helps to fill areas with deep shadows.
Studio Lights
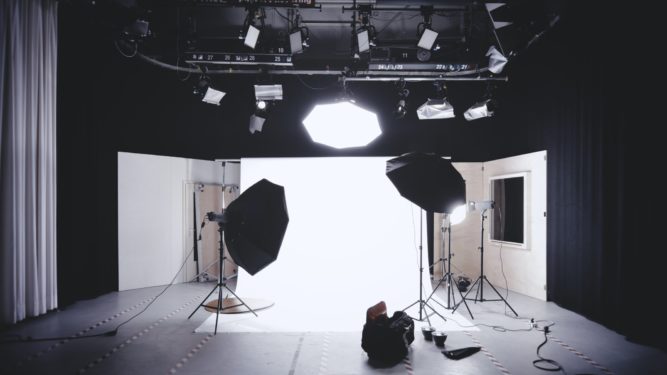
The next section deals with lighting techniques in the photo studio. First, I will explain the most common types of lighting equipment and what they are used for.
There are many different types of artificial studio lights. Lights such as flashes, LEDs, tungsten and fluorescent tubes all have different purposes. In addition, you will find that each light gives your photo a different hue.
Most switchable slaves activate a flash trigger, so all you have to do is connect your camera to one of the flash heads.
For studio flashes, the positioning of the light source behind the camera tripod is crucial. A tripod that supports the flash head enables it to be positioned at the correct distance and angle to the subject. A flash tube is essentially a modeling light.
Fill the light to brighten the shadows cast on your subject with the key light. Fill the light with a bright key light if you want to get a little shade on the face of your subjects to show the dimensions of your shot.
Position a flash at an angle of 45 degrees to a model that is about two meters high. This creates a strong, hard, direct light on both sides. To illuminate, position a reflector on the other side of the model to cast light into the shadows on that side.
Diffusion
Clouds are not the only diffuser; some lights, such as flashes and studio flashes, can also be used as diffusers. A softbox is another form of diffuser, but it is smaller and can be used with or without flash in the camera. A white umbrella can be placed over an illuminated motif called a shooting umbrella to dampen the light.
Softboxes are the first thing you should buy when you get studio lights. Softboxes are studio flashes with reflective lines made of opaque polyester or nylon. They are practical for all lighting situations in studio photography. They provide a dimmed light that reaches closer to your motif.